The Overview:
~49,071 miles, 4 vehicles, 4 jobs, 47 National Parks, and the 48 contiguous states in an ~$19,000 motorhome (including remodel) spending $48,600.16 over 2 years..
The Plan:
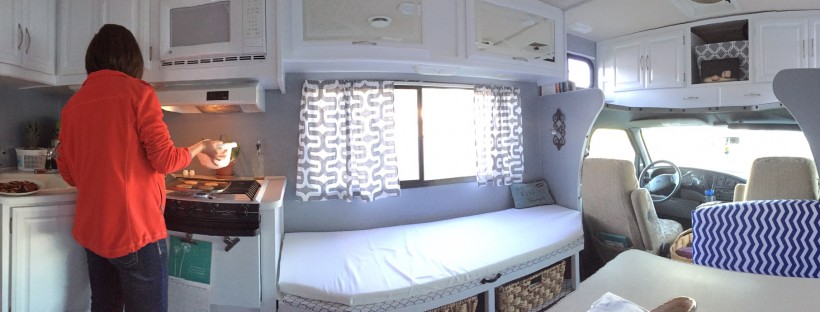
After purchasing and remodeling our new-to-us motorhome, we headed out on June 2, 2015 with the goal of visiting all 48 of the contiguous United States and each of the 47 National Parks and 152 National Forests along the way.
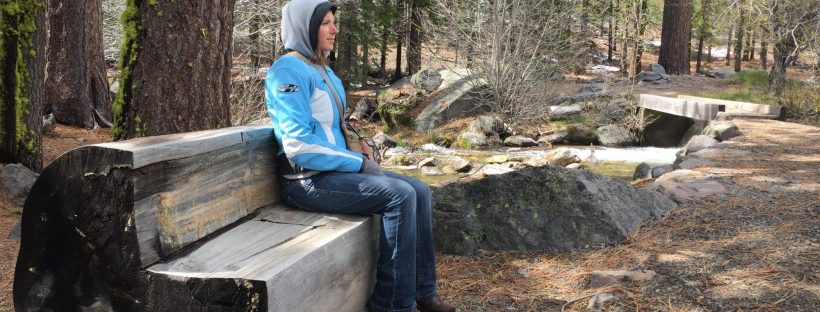
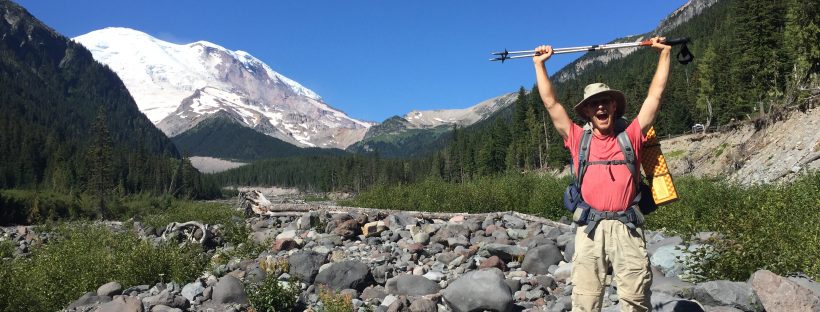
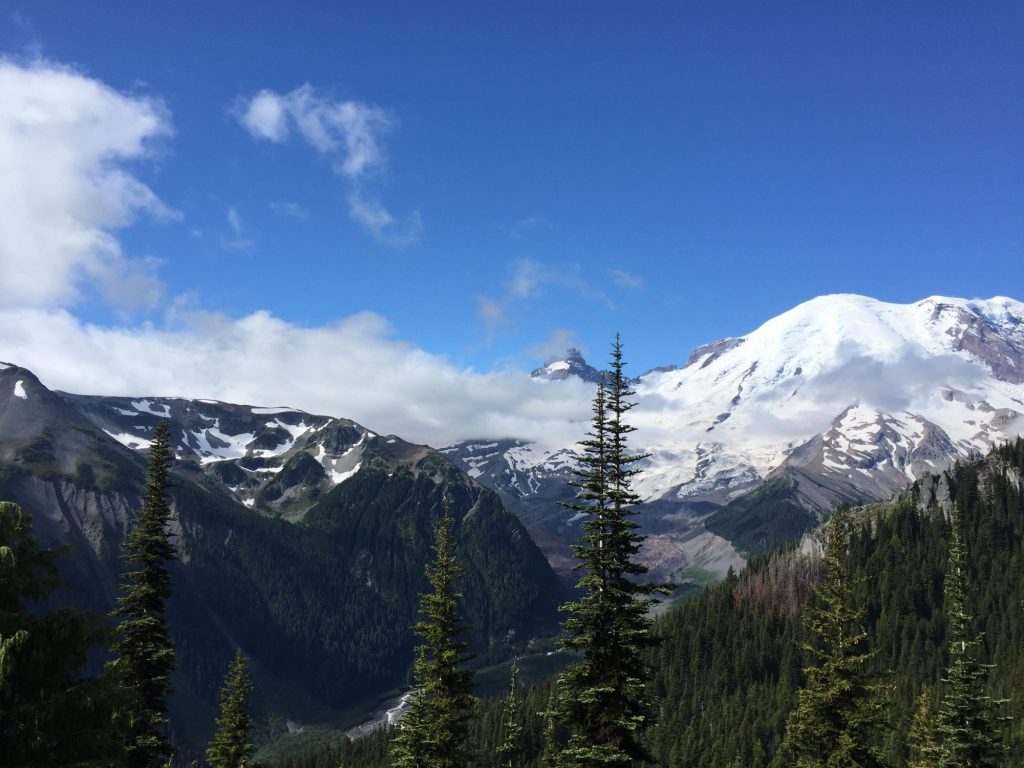
Since we both love the outdoors, the exploration of Parks and Forests seemed like a good way to experience something in each state and (hopefully) also highlight some of the best natural features along the way.
After going out of our way to drive through the third National Forest, we decided that wasn’t going to be an enjoyable or worthwhile part of our quest, and focused on the states and parks.
By the Numbers:
The dates:
We drove into state number 48, Maine, on May 22, 2017 (721 days after starting) and into park number 47, Acadia, the next morning.
On our two year adventure-versary (June 2, 2017 – 732 days) we were settled at family’s house – not where we started, but at a good finishing point in order to visit and take a bit of a travel break.
It took us about 450 days to return to our jumping-off point in Western Kentucky for a brief visit with our parents before returning to Michigan for a friend’s wedding.
Along the way, we picked up four different jobs:
- Lot Managers/Sales of pumpkins, Christmas trees and fireworks, Arizona (October 2015-December 2015)
- Personal Assistant at The Bremerton Letterpress Company, Washington (Ashley; June-July 2016)
- Contractor at The Bremerton Letterpress Company, Washington (Matthew; May-July 2016)
- Travel Nurse at Cape Fear Valley, North Carolina (Ashley; Nov 2016 – Feb 2017)
Each of these positions took about 3 months (though the two positions at The Bremerton Letterpress Company were at the same time), so we spent about 9 months of the journey stationary due to work commitments (roughly 37% of our time).
Travel Numbers:
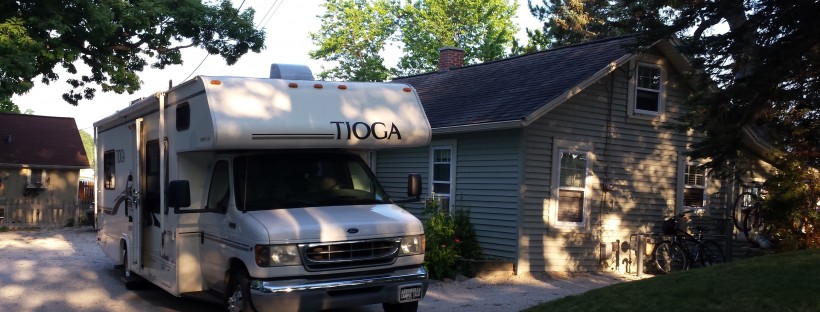
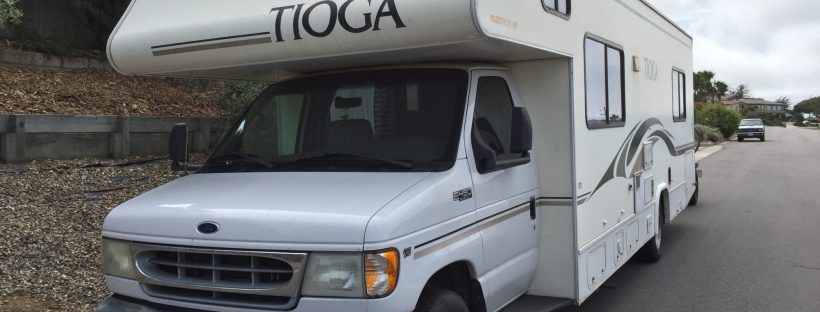
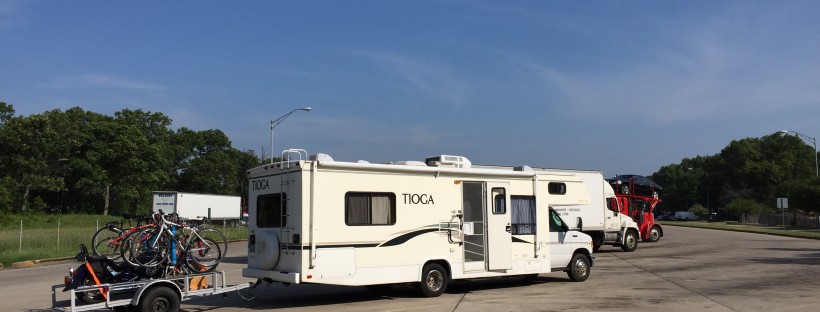
Over the course of the journey we’ve used 4 different vehicles: Lady Galapagos – our trusty RV, the motorcycle, a brief stint in the CarVee – our PT Cruiser, and lucked into the use of a friend’s pickup while he was out of the area working.
- RV
- miles – 25,571
- maintenance (new fridge, front brakes and left rotor, routine oil and filter changes)- $3,746.55
- gas – $7,476.93
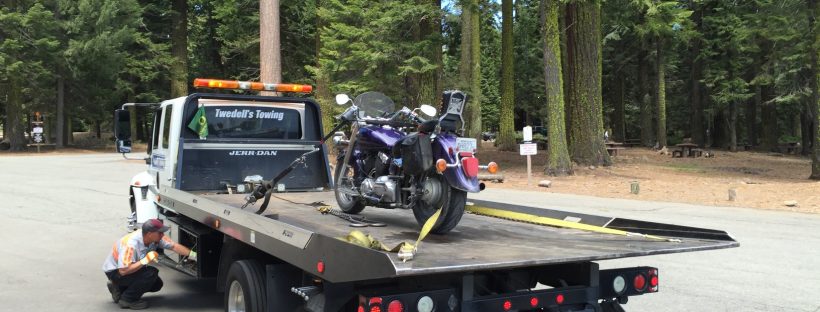
- Motorcycle
- miles – ~15,000
- maintenance (new tires, routine oil changes) – $783.64
- gas – $737.82
- CarVee
- miles -~3,500
- maintenance – $584.11
- gas – $529.09
- Truck
- miles – ~5,000
- gas – $468.79
While these look like exact numbers, they aren’t quite. I know that there some more expenses that go under the CarVee maintenance, as well as some for the truck, but these are what I recorded.
Other financials:
One of the most common questions we receive is some form of “are you rich?” (though never worded so directly). The basic idea is that we worked and saved up some, traveled, paused to work and add more to the gas fund, and traveled more. If you’re interested in more details, here’s the break down of the last two years:
| including RV | no RV | ||
| Total | $67,600.16 | $48,600.16 | |
| Food | $10,422.29 | 15.42% | 21.44% |
| RV Fuel | $7,476.93 | 11.06% | 15.38% |
| Other | $6,318.36 | 9.35% | 13.00% |
| Restaurant | $4,080.56 | 6.04% | 8.40% |
| Campgrounds | $3,780.52 | 5.59% | 7.78% |
| RV Maint | $3,746.55 | 5.54% | 7.71% |
| House | $3,220.13 | 4.76% | 6.63% |
| Cell Phone | $3,120.00 | 4.62% | 6.42% |
| Coffee | $1,719.05 | 2.54% | 3.54% |
| Entertainment | $842.82 | 1.25% | 1.73% |
| Motorcycle Maint | $783.64 | 1.16% | 1.61% |
| Motorcycle Gas | $737.82 | 1.09% | 1.52% |
| Propane | $587.20 | 0.87% | 1.21% |
| Car Maintenance | $584.11 | 0.86% | 1.20% |
| Car Gas | $529.09 | 0.78% | 1.09% |
| Truck gas | $468.79 | 0.69% | 0.96% |
| Laundry | $182.30 | 0.27% | 0.38% |
| RV | $19,000.00 | 28.11% |
this doesn’t include insurance on car, RV, or motorcycle!
Was it worth it?
Absolutely! We wouldn’t trade the experiences, time together, or knowledge gained for anything!